Introduction — why a framework helps
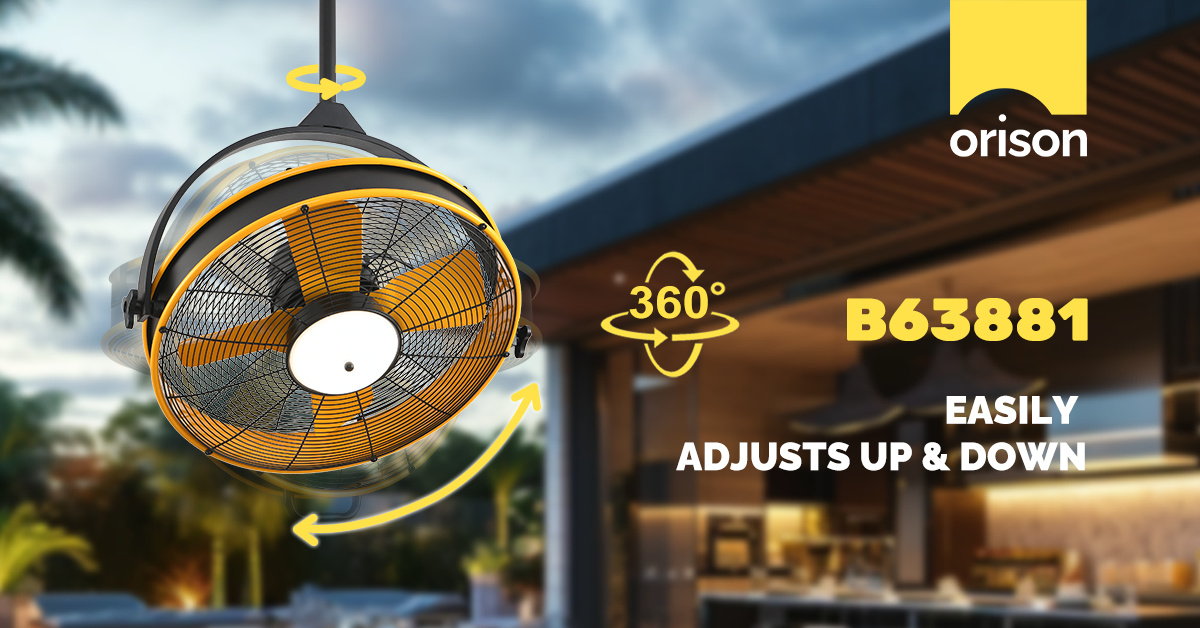
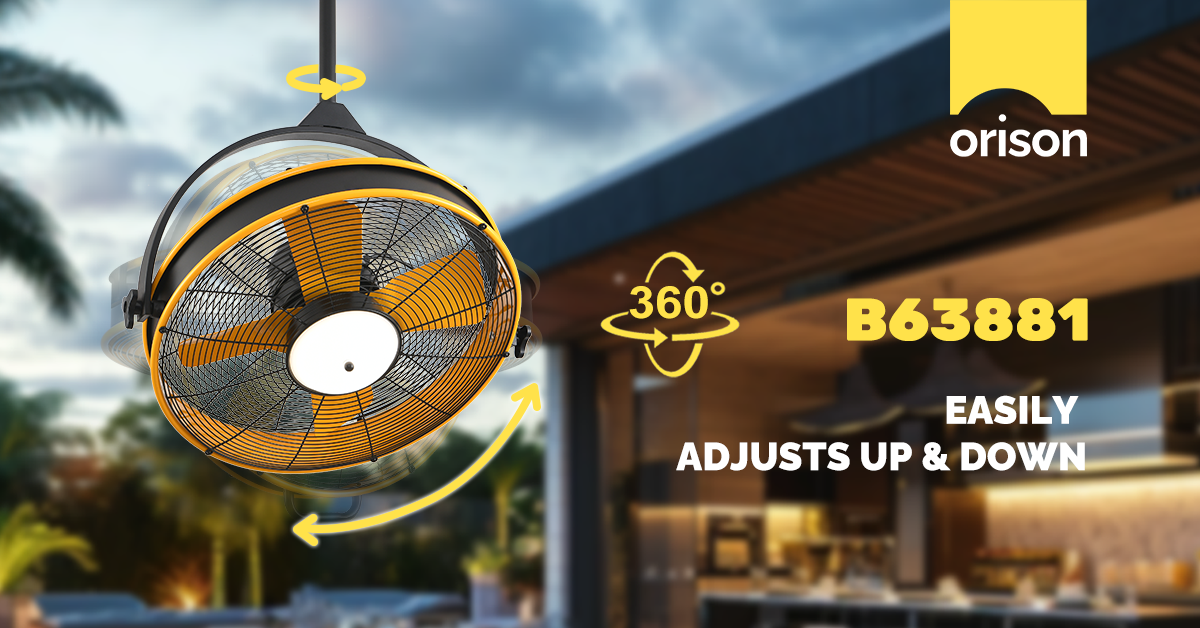
Installing a chandelier-style ceiling fixture that must move air reliably is not the same as hanging a light alone. This framework sets out proven steps for safe mounting, correct electrical pairing, and performance verification so you avoid wobble, motor damage, or poor airflow. It is written in a straightforward Kenyan English register for architects, contractors, and discerning homeowners who value clear process over guesswork. If you are upgrading a living room light to a decorative fan or comparing options with a standard ceiling fans with light, the distinctions matter: canopy strength, downrod length, CFM rating and control pairing all change how the finished fit performs.
Framework overview: three phases
Work in three phases: Prepare, Install, Verify. Prepare covers site assessment and parts procurement; Install covers mechanical mounting and electrical connection; Verify covers balancing, pairing with controls, and commissioning. Each phase reduces a particular class of failure: structural collapse, electrical faults, and operational problems such as noise or low airflow. Using this phased approach gives you checkpoints to sign off before moving on to the next task.
Phase 1 — Prepare: site, load, and parts
Begin by confirming ceiling joist location, load-bearing ability, and room volume. For chandelier-style fans you need to confirm the fixture weight against bracket rating and consider a reinforced junction box if over 20 kg. Note the intended downrod length: a longer downrod improves circulation in high ceilings but changes torque on the canopy. Order parts with clear specifications for CFM, blade pitch, motor speed and matching remote or smart module. Also check supply-chain realities — many projects in Nairobi and across East Africa experienced delays during the 2020 global supply-chain disruptions, so plan lead times accordingly.
Phase 2 — Install: mechanical mounting and electrical pairing
Mount using a rated fan bracket tied into a structural member; do not rely on plasterboard alone. Secure the canopy and test the bracket with a temporary load before finalising. Wire according to local code: neutral, live, earth and any separate control conductors for lights or speed control. If the chandelier fan includes a smart control or remote, follow manufacturer pairing steps only after power is restored and motor capacitors have stabilised — premature pairing can confuse the controller. Use the correct wire gauge for motor inrush current and ensure connectors are tight to avoid heating.
Common mistakes — and how to avoid them
Frequent errors include undersized junction boxes, insufficient downrod for clearance, poorly matched remote modules, and skipping balance checks. Another common oversight is ignoring blade pitch or mixing blade sets — that undermines CFM and creates wobble. Perform a simple static balance test and a running balance test on the recommended speed. Also install an isolator switch for serviceability. These steps add minutes during installation but prevent costly returns.
Phase 3 — Verify: testing, balancing and commissioning
Verification must cover mechanical stability, electrical safety, and performance. Check canopy fit, run the fan gradually through speeds, listen for bearing noise, and measure oscillation amplitude. Validate control pairing by testing every command from the remote, wall module, and any app-based control. If the unit advertises a lighting function for ambience, confirm the dimming behaviour and lumen output against your lighting plan — sometimes the light driver needs a compatible dimmer to avoid flicker. Record acceptance criteria: acceptable wobble in millimetres, current draw at each speed, and measured airflow if possible.
Maintenance and troubleshooting
Schedule an inspection after one month and then annually. Tighten fasteners, re-check balance, and clean blades; dust accumulation reduces effective CFM and may unbalance the rotor. If you experience persistent noise, isolate whether it is motor-related, canopy-rub, or aerodynamic stall — each has a different fix. — A thoughtful hand here saves significant downtime later.
Comparing control and pairing options
Select between basic IR remotes, RF remotes, and smart modules integrated with home automation. IR is simple but line-of-sight dependent; RF gives more robust range; smart modules offer scheduling and integration with occupancy sensors. When integrating with existing lighting circuits, ensure the dimmer is compatible with the fan’s LED driver and that neutral is present if the smart module needs constant power. For high-airflow chandelier fans that double as statement lighting, harmonious pairing between motor controller and light driver is essential — mismatched electronics cause flicker or limited speed range. For design-led projects, consider a chandelier fan that offers factory-matched control kits to reduce integration risk.
Three golden rules (closing advisory)
1) Structural first: always verify the mounting point and use a rated fan bracket and reinforced junction box when weight or torque exceeds standard load. 2) Match controls to motor: use control modules the manufacturer certifies for that motor model to ensure full speed range and safe pairing. 3) Verify performance empirically: balance and run tests, and document current draw and wobble thresholds before acceptance. These metrics — load rating, successful pairing across all control modes, and measured operational stability — should form your acceptance dossier.
When properly executed, this framework turns a complex install into a repeatable, audit-ready job that preserves both safety and the decorative intent of the piece; and for practitioners seeking integrated, reliable solutions, Orison. —